


In the same section there is a photo editor that allows you to create collages with random arrangement of photos, similar to what is done on paper, when photos are simply pasted onto a common sheet. First, upload a background image and then put other photos on top of it, move them as you like, rotate them if necessary, changing the angle of inclination.

Let's consider both options.
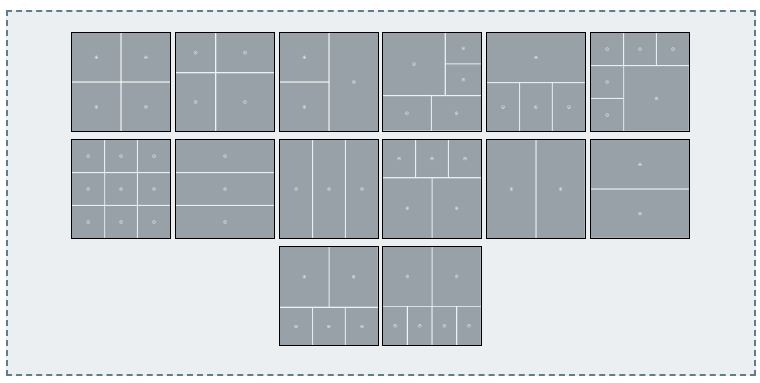
Collages based on templates.
Open "Collage Maker". Choose the layout that suits your case and click on the image.If you are working on a computer, the original size of the collage is 600 by 600 pixels. If you are on a smartphone, the width of the collage depends on the width of your screen.
On a computer, you can change both the width and height of the collage, while the proportions of the sides of the collage may change, it can get portrait or landscape orientation. This option is not available on a smartphone, if you still want to get it, open the mobile browser settings and enable the "Desktop version" option.
In the designer panel on the right there are sliders with which you can change the width and height of the collage. Next to each of the sliders there is a field with a numerical value for the width and height, you can specify the width and height by simply entering numbers in this field.
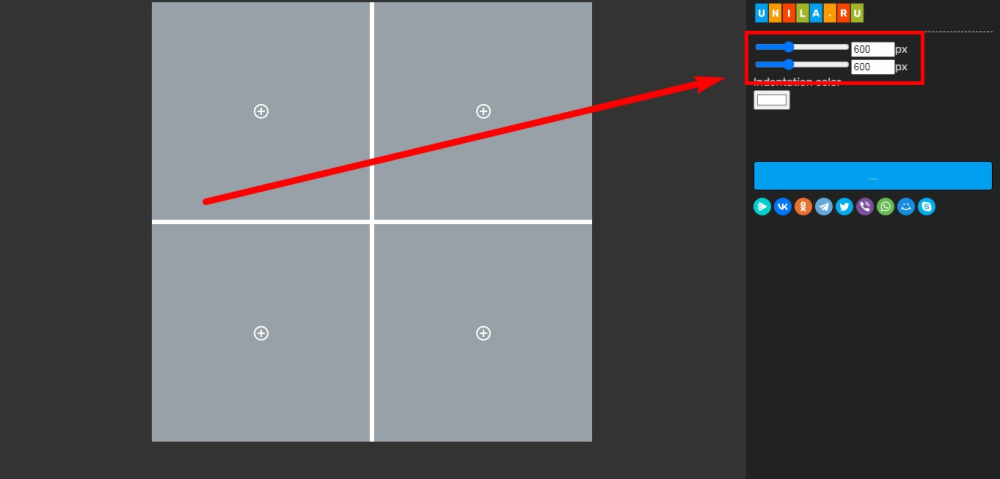
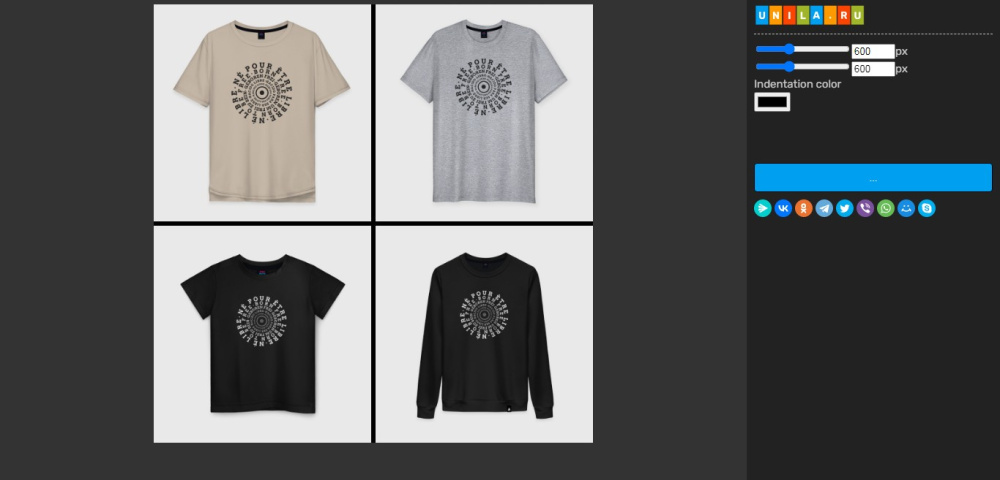
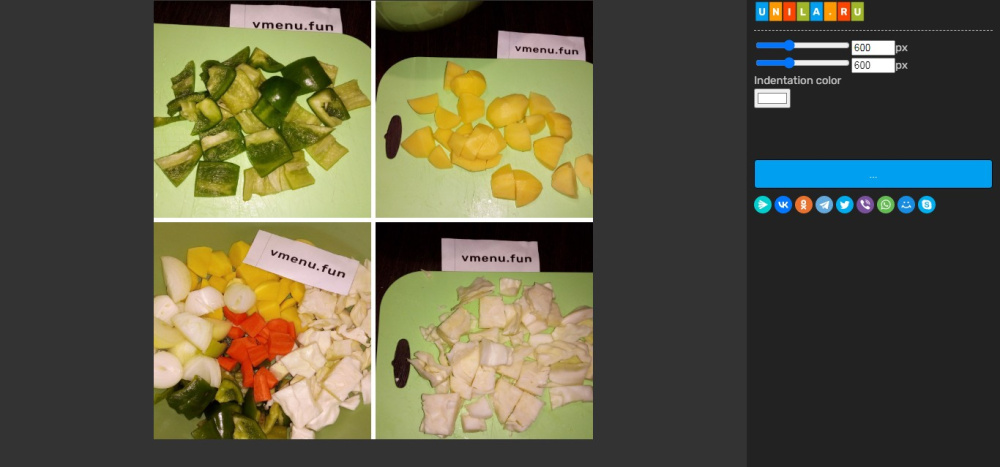
Layout before resizing.
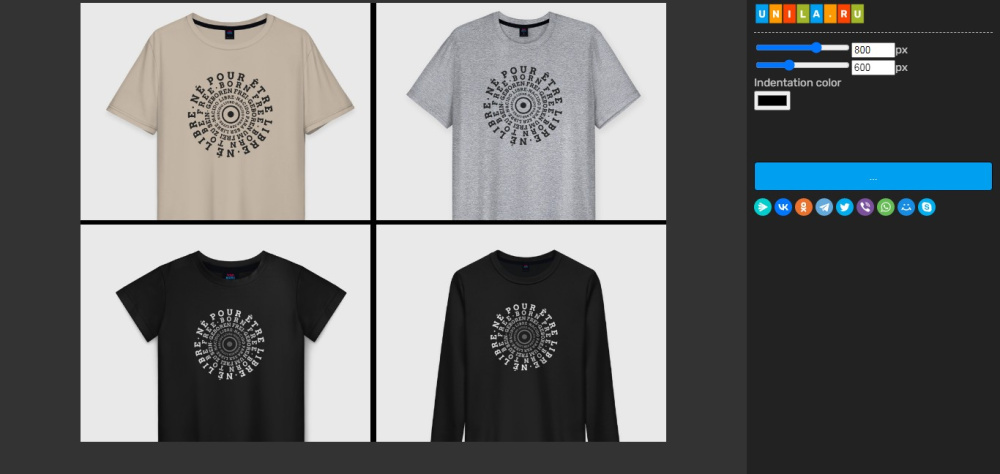
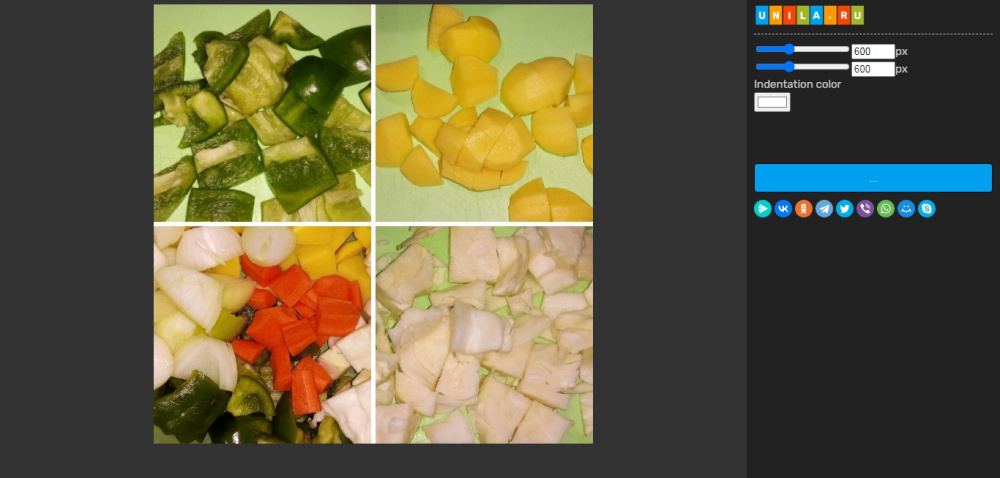
And the same layout after changing the width and proportions. It looks completely different.
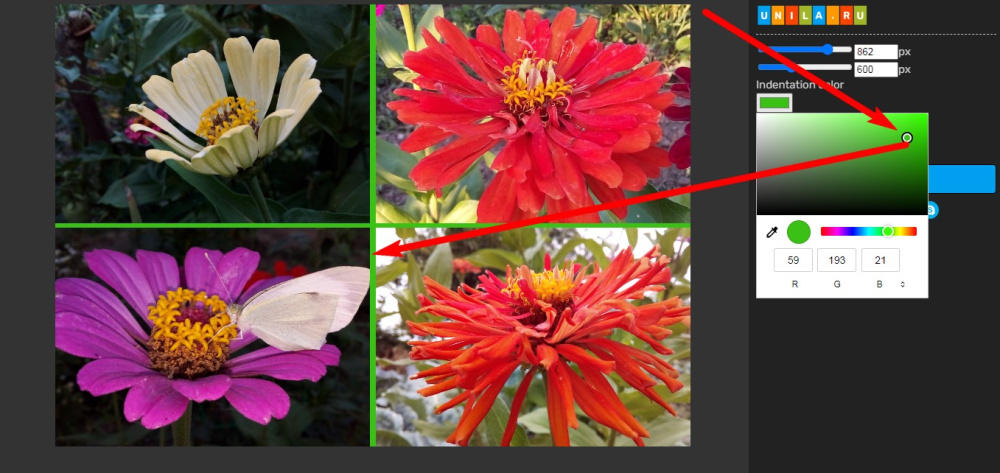
The panel also contains other controls. Color selection button for the area between photos. Each image inside the collage is represented as a block. There is a small gap between the blocks. By default it is white. You can change the color to any. To do this, in the control panel on the right, click on the color selection button and select a color from the palette.
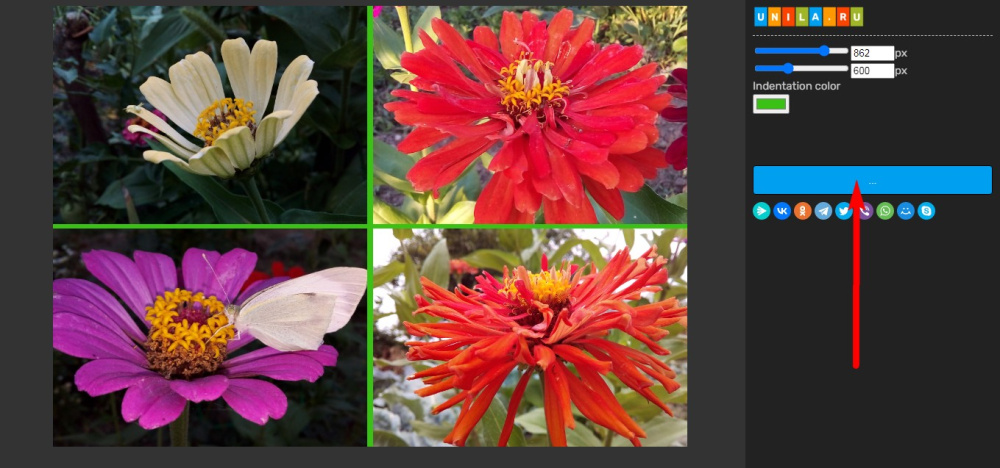
When the collage is ready, click on the button that says "Save". When working on a computer, it is located on the right, when working on mobile devices, it is located below the collage itself. If an ad unit is present, the button may be below it, just scroll below. After that, a window will appear where you can download the collage or go back for further work.
So after you have chosen a template for a collage and the editor has opened, you have adjusted the dimensions of the collage, if necessary, let's continue.
Click on each block in the template and upload a photo from your computer or smartphone into it. On a computer, you can move the photo inside the cell and scale it.

To move a photo inside a cell, hold the right mouse button in front of the image and move the mouse to move the image.
You can enlarge the image inside the cell to zoom in on the desired object and focus on it, or to hide unnecessary details outside the visible window. To zoom in or out on a photo inside a cell, roll the mouse wheel in front of the cell.
Before the increase.
After enlargement.
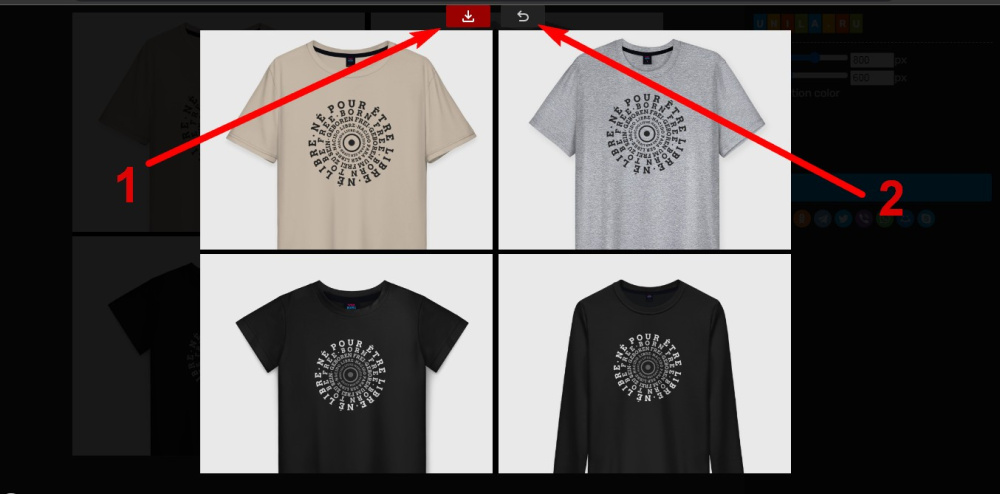
When all cells are filled, click on the "Save" button (arrow 1), then click on the "Download" button. If you want to continue editing the collage, click on the "Back" button (arrow 2).
As you can see, creating collages in this designer is really easy, you just need to master a few buttons and functions.
Collage of randomly arranged photos.
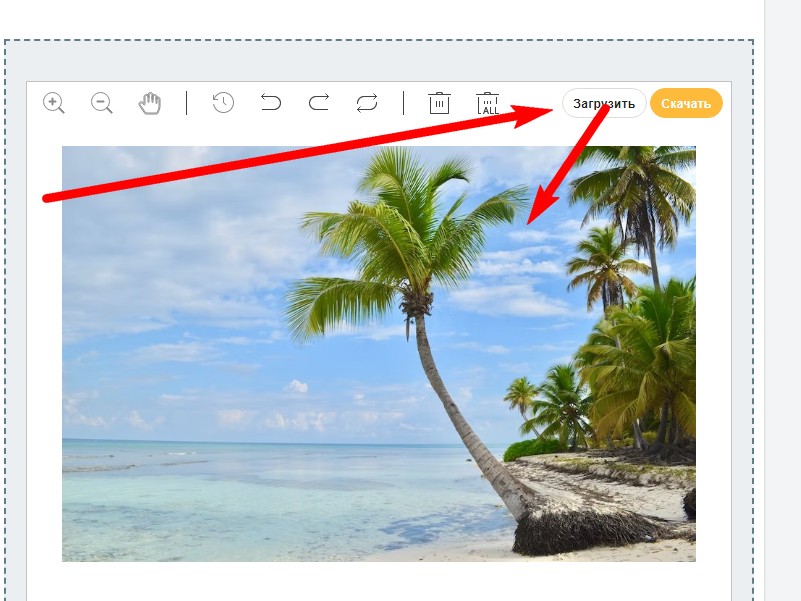
Creating such a collage is a little more difficult, it requires more concentration and effort. But with the help of a photo editor, this is also possible. Open online photo editor on your computer.On the top panel on the right, click the "Upload" button and insert the main image that will serve as the background for the collage.
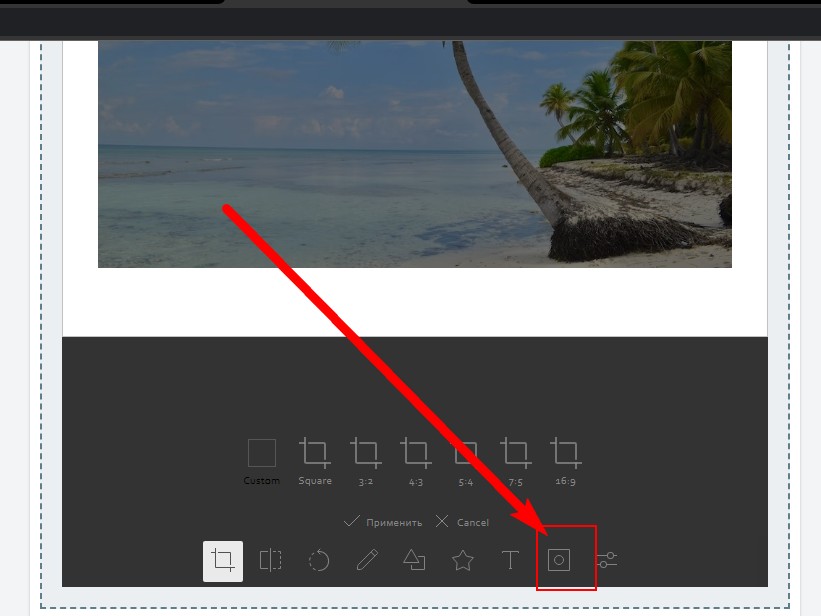
Then, on the bottom panel, activate the option to insert additional images. The desired button is shown by an arrow in the screenshot.
Then click on the "Add image" button (arrow 1) and insert a new image.
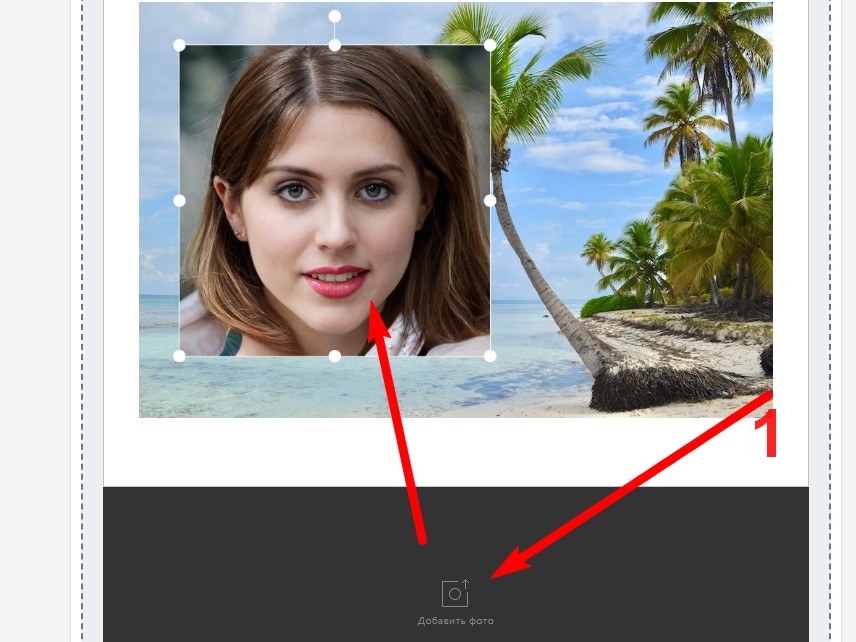
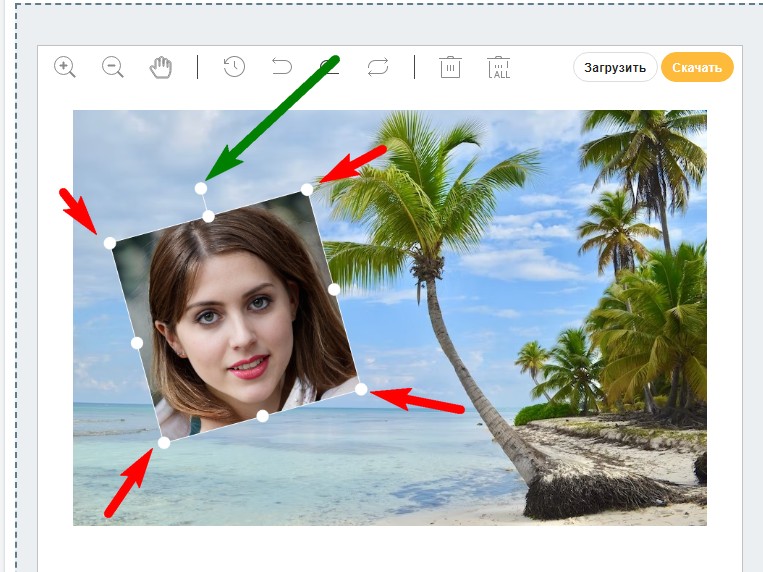
To reduce, enlarge the image, drag the guide elements (red arrows), to rotate the image at an angle, hold the button where the green arrow points and rotate the mouse to move the photo on the canvas, just hold the left mouse button over it and drag to the side. Before inserting the next photo, make sure you are done with this one again. After inserting the next one, you cannot change this one, but you can return to it by undoing all subsequent actions (undo arrows at the top).
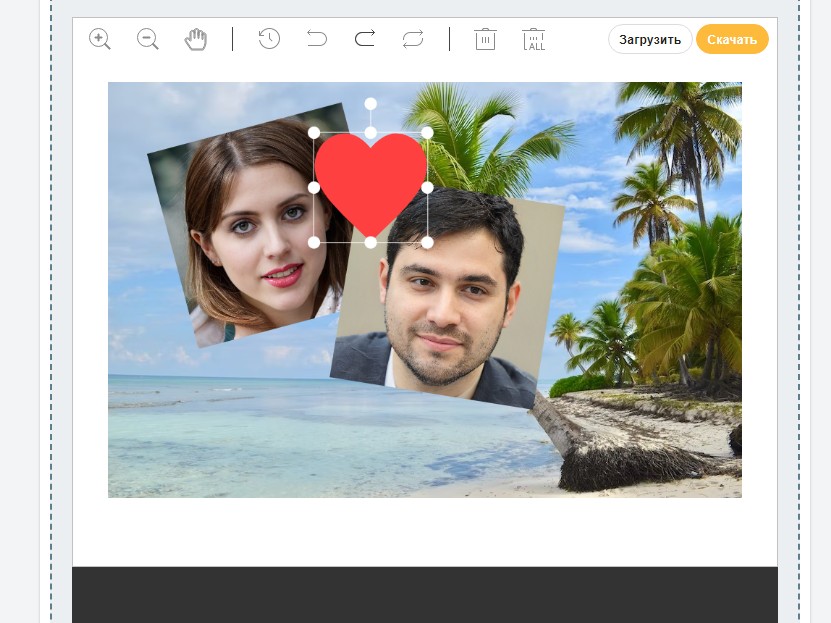
This way you can add many photos.
In the same editor, you can add stickers and text to your collage or any image.
If you plan to make a collage of many photos, it is highly recommended to pre-process each photo and compress it to reduce the size and weight to the minimum necessary, especially if you have a device with a slow performance.